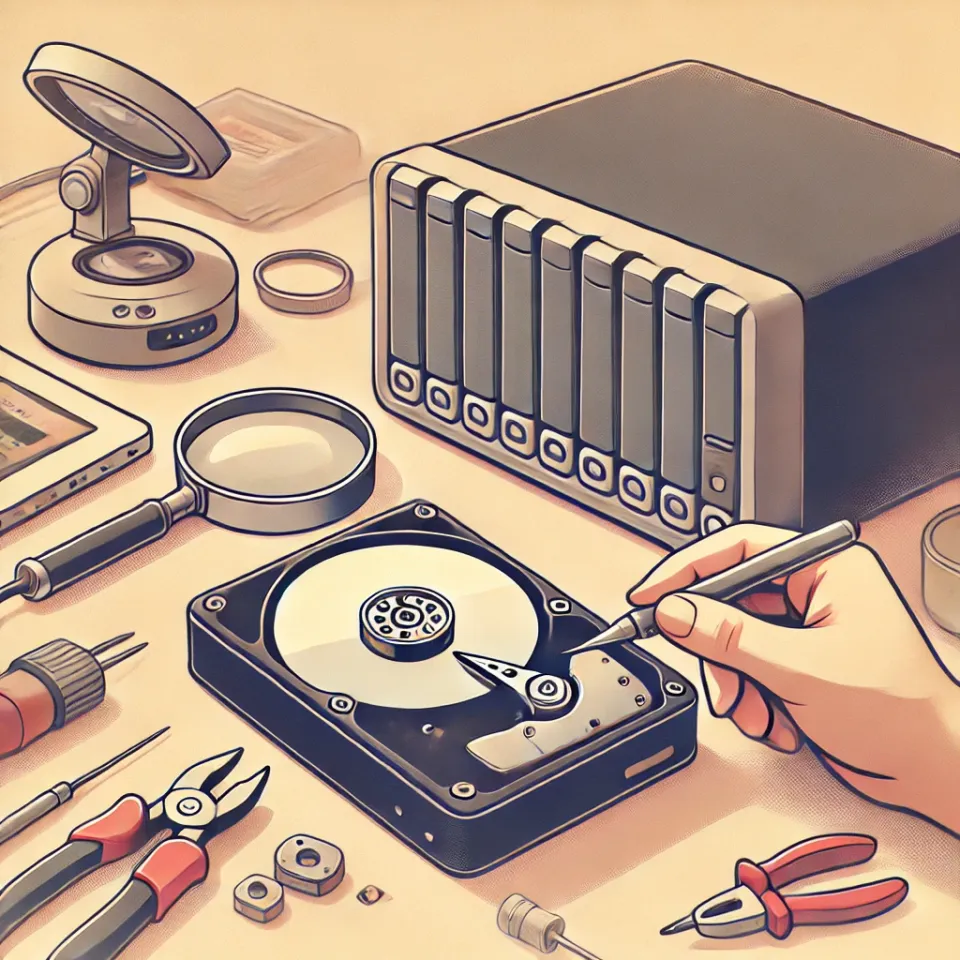
Drive Bootcamp: Testing Hard Drives for NAS Duty

Disclaimer: Yes, I like testing my hard drives. No, it’s not a weird hobby. Think of it like test-driving a car… that you’re going to trust with thousands of memories, dog videos, and maybe a few secrets. Besides, HDDs are a little dramatic. They either die young or just live forever with a lot of character.
What’s a NAS, Anyway?
Network Attached Storage or NAS
Imagine a little digital library that sits in your home, storing all your precious files—photos, movies, documents—safe, organized, and ready to share across your devices. That’s a NAS, or Network-Attached Storage. It’s basically a mini-server that makes your data accessible from anywhere on your home network (and, with a bit of tech magic, even from the outside world).
NAS devices are perfect for data lovers and storage hoarders who want their own “cloud” without depending on third-party services. But to keep your data safe, you need reliable drives. And that's where testing comes in !
Why Bother Testing?
Hard drives are amazing pieces of engineering: inside, they have thin, spinning platters that hold data, along with tiny read-write heads that hover just above the platter surface, reading and writing data without ever making contact. And by “hover,” I mean a gap so tiny it’s smaller than a single strand of hair. This setup makes drives remarkably efficient but also sensitive.

If the read-write head accidentally makes contact with the platter (in what’s charmingly called a “head crash”), it can scratch the surface and permanently damage data.

Hard drive manufacturers know this, so they include several safeguards to prevent these incidents:
- Shock Sensors: Built-in sensors detect sudden movements or shocks and quickly park the heads off the platter surface.
- Landing Zones: When powered off, hard drives park the heads on a safe area, away from data, to avoid accidental contact.
- Error-Correction Codes: If minor errors occur, the drive can correct them, adding extra reliability for data.
Even with all these protections, though, things can still go wrong. Sometimes, there are manufacturing defects or one of these safeguards fails to work as intended. This is why testing is so important before committing any drive to a NAS.
And, of course, we have to remember “infant mortality,” that common phenomenon in the world of hard drives: if a drive is going to fail, it often happens early in its life or lives on a long golden life. Testing helps catch any early issues before the drive officially joins the NAS lineup, so I can trust it’s ready to keep my data safe.
Enter badblocks
https://linux.die.net/man/8/badblocks
The main tool I use is badblocks. This command-line tool does exactly what it sounds like: it finds any “bad blocks” on a drive—sections that can’t reliably hold data. A bad block here and there is okay if you're using the drive as a Frisbee, but for data storage? Absolutely Not !
What badblocks Does Under the Hood
Here’s what happens when you let badblocks loose on your drive:
- It Reads and Writes (Gently or Brutally):
badblocksruns through every single block on the drive, reading and writing to it based on the mode you choose. - Multiple Passes: It can be as thorough as you like. Want a single pass to quickly check for major issues? Done. Prefer multiple passes to give it the full bootcamp experience? Also doable.
- Detects Failing Blocks:
badblockswill catch blocks that are “iffy”—the kind that may lose data on a whim.
Running badblocks
This example is destructive and will cause data loss if run on a disk containing data ! Kindly refrain from copy-pasta 🍝
badblocks does have a non-destructive testing mode but I usually run this test on brand new drives which have no data

sudo badblocks -wsvt /dev/sdXBreaking Down the Options:
-w: Write mode-s: Shows progress (because who doesn’t love a progress bar?)-v: Verbose mode, so we know what’s going on-t: Specify a test pattern to be read (and written) to disk blocks. From the example above, 255 will be converted to hex and that data will be written to disk-b: Specify the size of blocks in bytes. The default is 1024./dev/sdX: Replace this with your drive's actual path. Triple check this to avoid nuking the wrong drive.
Final Thoughts
Testing with badblocks is more of a precautionary measure for early failure or defect detection. It won't ensure that the drive will last forever but will save you from "oh shit" moments later.
Ultimately, it's your data, and the burden of caution is on YOU !
Member discussion